Instructions
- In a large bowl or stand mixer, beat the eggs, vanilla extract, and salt. Set aside.
- In a saucepan, combine the honey, sugar, and butter. Heat over medium heat, stirring frequently, until the sugar is fully dissolved and the mixture begins to simmer.
- Continue cooking for an additional 3 minutes, stirring constantly to prevent burning.
- Remove the mixture from the heat and immediately add the baking soda. Stir well until fully incorporated. The mixture will rise and become foamy. Slowly pour the hot mixture into the egg mixture, while constantly mixing with the stand mixer, until a smooth batter forms.
- Gradually add the flour in portions, continuing to mix until combined. Transfer the dough to a floured surface and knead by hand until it forms a smooth, soft dough ball. If the dough is too sticky, add a bit more flour while kneading, but be careful not to add too much as this can make the cookies dry.
- Divide the dough into two portions, wrap each in plastic wrap, and refrigerate for at least 1 hour.
- Preheat the oven to 350°F (180°C), without the fan function.
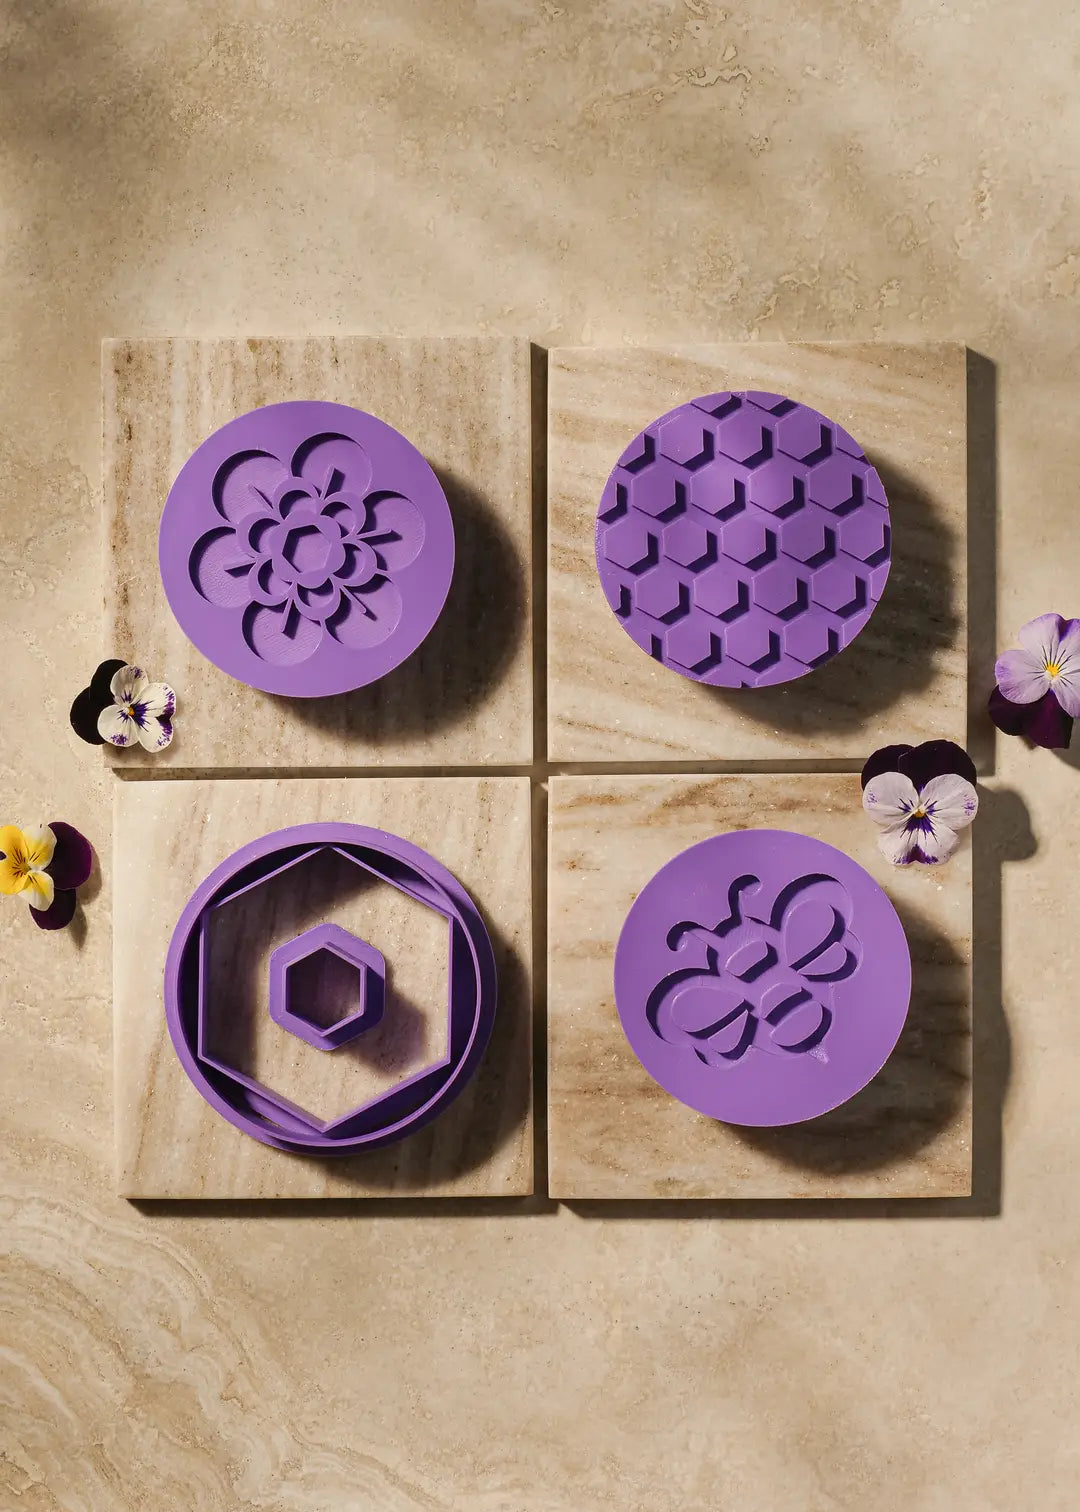
- Roll out the dough on parchment paper or a silicone mat to about ¼ inch (6 mm) thickness. Lightly flour your cookie stamps and press them into the dough to create patterns, then cut out your desired shapes (round or hexagon).
- Arrange the cookies on a baking sheet lined with parchment paper, leaving enough space between them as they will rise during baking.
- Bake for 6-8 minutes, or until the edges turn light golden brown. Do not overbake, as they can become dry! Let the cookies cool on the baking sheet for about 5 minutes, then transfer to a wire rack to cool completely.
Storage & Serving
Store in an airtight container at room temperature. Undecorated cookies will stay fresh for up to 7 days.
Share:
Key Steps
Watch the Recipe in Action
See deliciousness in the making! Feeling inspired? The super cute tools shown in this reel are just a click away. Get them now and bring more joy to your cooking. Create beautiful treats that taste as amazing as they look!
Did you make this recipe?
We'd love to see your results! Simply post a photo of your finished cookies and tag our account @formini.de. Your beautiful work might be featured on our page, inspiring our community of bakers.
Chef's Kiss
Chef's Kiss


